

How To Change Gamma Windows 10
Although Windows 10 can automatically discover and configure the appropriate brandish settings, it's not merely about making elements bigger or irresolute the screen resolution. You also desire to make certain your photos, videos, and games expect at their best by manually calibrating your monitor, which is something the operating system tin can't accurately do automatically.
Fortunately, Windows 10, like to previous versions, includes a color calibration utility to make sure your monitor is ready to display the most authentic colors and blackness levels.
In this Windows 10 guide, we'll walk you through the steps to calibrate the display on your PC, laptop, or tablet using the built-in Brandish Color Calibration utility.
How to calibrate a monitor for accurate colors
- Use the Windows key + I keyboard shortcut to open the Settings app.
- Click Display.
-
Click the Advanced brandish settings link.

-
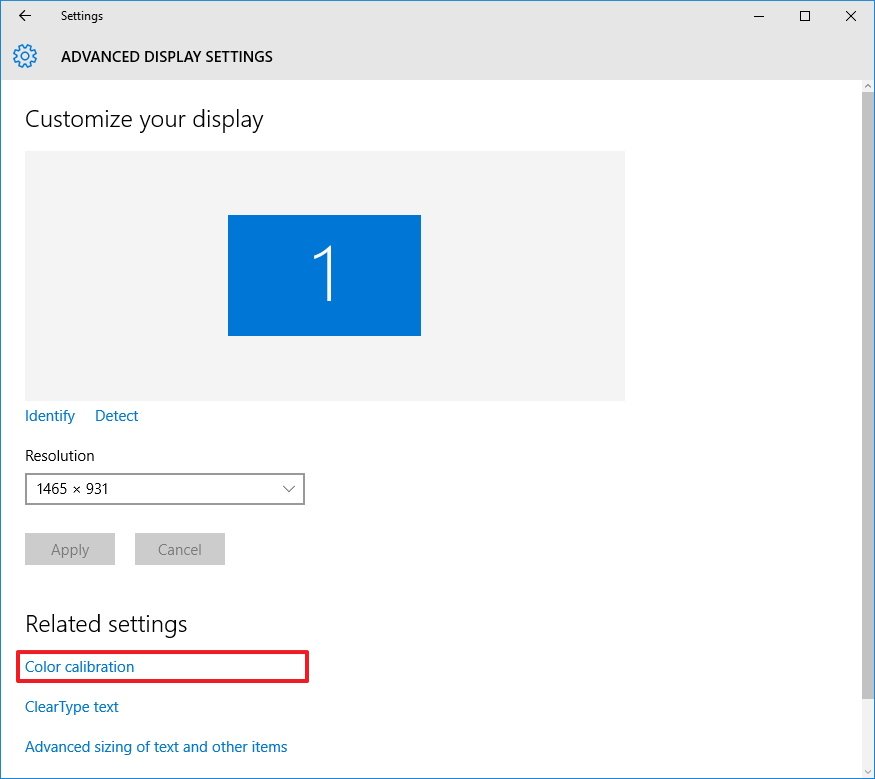
Brand sure you're using the Recommended screen resolution for your display, and click the Color calibration link to launch the utility.
-
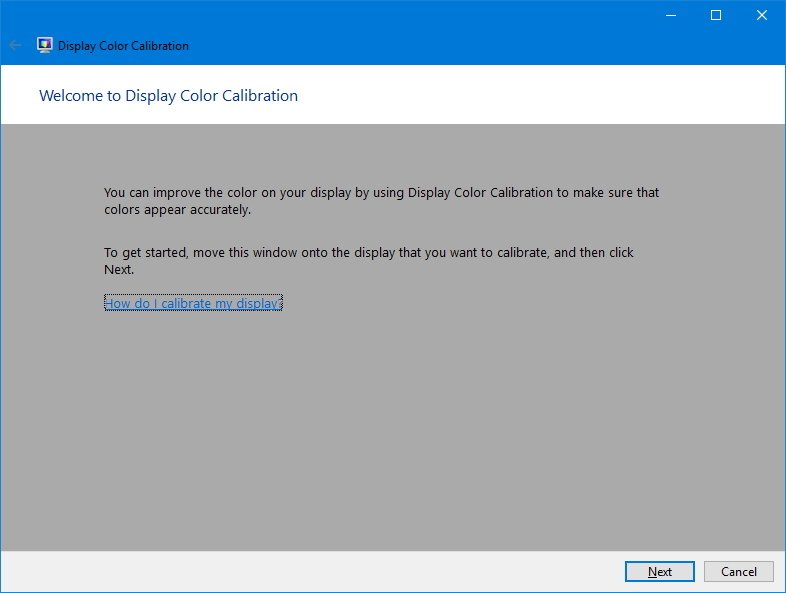
Click Next to start the process.
-
The wizard will now walk you through the steps to access the on-screen display menu on your monitor to set specific color settings. Click Next to continue.

Quick Tip: Before moving to the next footstep, the utility recommends restoring the default display color settings whenever possible. If yous're using a custom configuration, it's a good idea to note those settings in case you desire to revert the changes.
- Click Next again.
-
Adjust the gamma settings by moving the slider upwardly or down until the pocket-sized dots are barely visible, and click Adjacent.

- Click Next again.
-
Find the brightness controls on your monitor and adjust the brightness higher or lower as described in the epitome below, and click Next to keep.

- Click Next again.
-
Find the dissimilarity controls on your monitor and set it high enough as described in the image beneath, and click Side by side to continue.

- Click Adjacent once again.
-
Arrange the colour balance past moving the slider for the red, green, and blue colors until removing whatsoever color cast from the greyness bars, and click Next.

-
Click the Previous calibration or Current scale button to compare the new changes. If the new color configuration is reasonable, click Stop to utilize the settings or Cancel to discard the new configuration.


Note: Y'all'll also notice that in this concluding step, you tin can start the ClearType Tuner to brand sure text are displayed correctly.
Remember that changes made through the display carte du jour will exist kept even if you click Cancel. However, if you're not happy with the new settings, you can revert the changes manually, or reset your display to the default settings.
Information technology's worth pointing out that there are many other paid and free tools available to calibrate your estimator'due south monitor, only the utility that comes bundled with Windows should exist more than enough for about users to ensure images look at their best colors and with accurate black levels.
What color calibration tool do yous use? Tell us in the comments below.
More Windows 10 resource
For more help articles, coverage, and answers on Windows 10, you can visit the following resources:
- Windows ten on Windows Central – All you lot need to know
- Windows 10 help, tips, and tricks
- Windows x forums on Windows Central

Indefinite greatness
Is Minecraft worth playing in 2022?
Minecraft has dominated the video game industry for well over a decade, but is it still worth playing in 2022? Against all odds, Minecraft has managed to remain relevant with its persistent updates and unique community back up.

Information technology eats monsters for breakfast
Xbox Series X ultimate guide: Everything yous need to know
Hither'southward everything you demand to know most the new-generation Xbox console from Microsoft: Xbox Series X. This 12TF fauna is the well-nigh powerful video game panel always fabricated, and comes with a range of fresh features and nuances to accept your console gaming to the next level.

How To Change Gamma Windows 10,
Source: https://www.windowscentral.com/how-calibrate-your-pcs-monitor-windows-10
Posted by: dowellchader.blogspot.com
0 Response to "How To Change Gamma Windows 10"
Post a Comment